Deploy GateKeeper to VMware
Before we begin, if you’re interesting in finding more details about our Gatekeeper service, please visit our website at: https://botguard.net/en/home/services/gatekeeper
You can also deploy an instance right from cloud marketplaces using AWS, Vultr, or DigitalOcean.
Lets begin!
First step is downloading the VMware-compatible application appliance image. You can find the latest version on our website at: https://botguard.net/en/home/services/gatekeeper – scroll down to Getting Started section – you will see a download link.
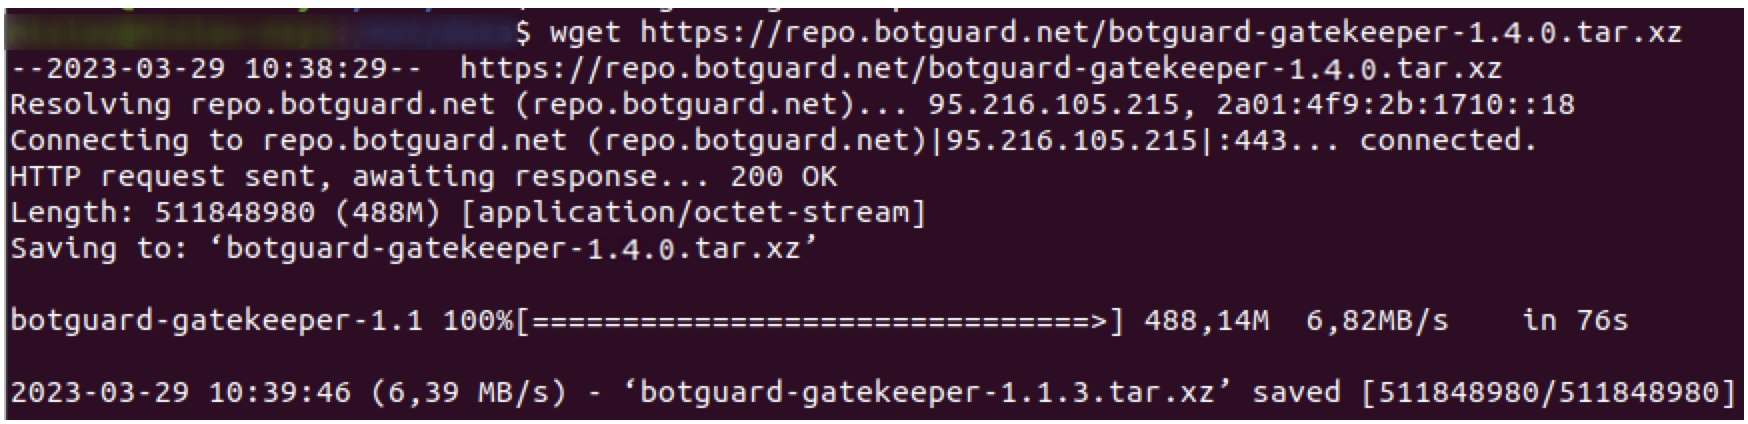
You can either download it through the browser by simply clicking Download or if you’re running OS Linux, you can do it via command line, through wget:
Note
Following new version release, this link automatically updates to reflect the latest version.
Extract the archive using:
Once extracted, a new folder will be created, containing GateKeeper image which we can then import in the VMware itself.

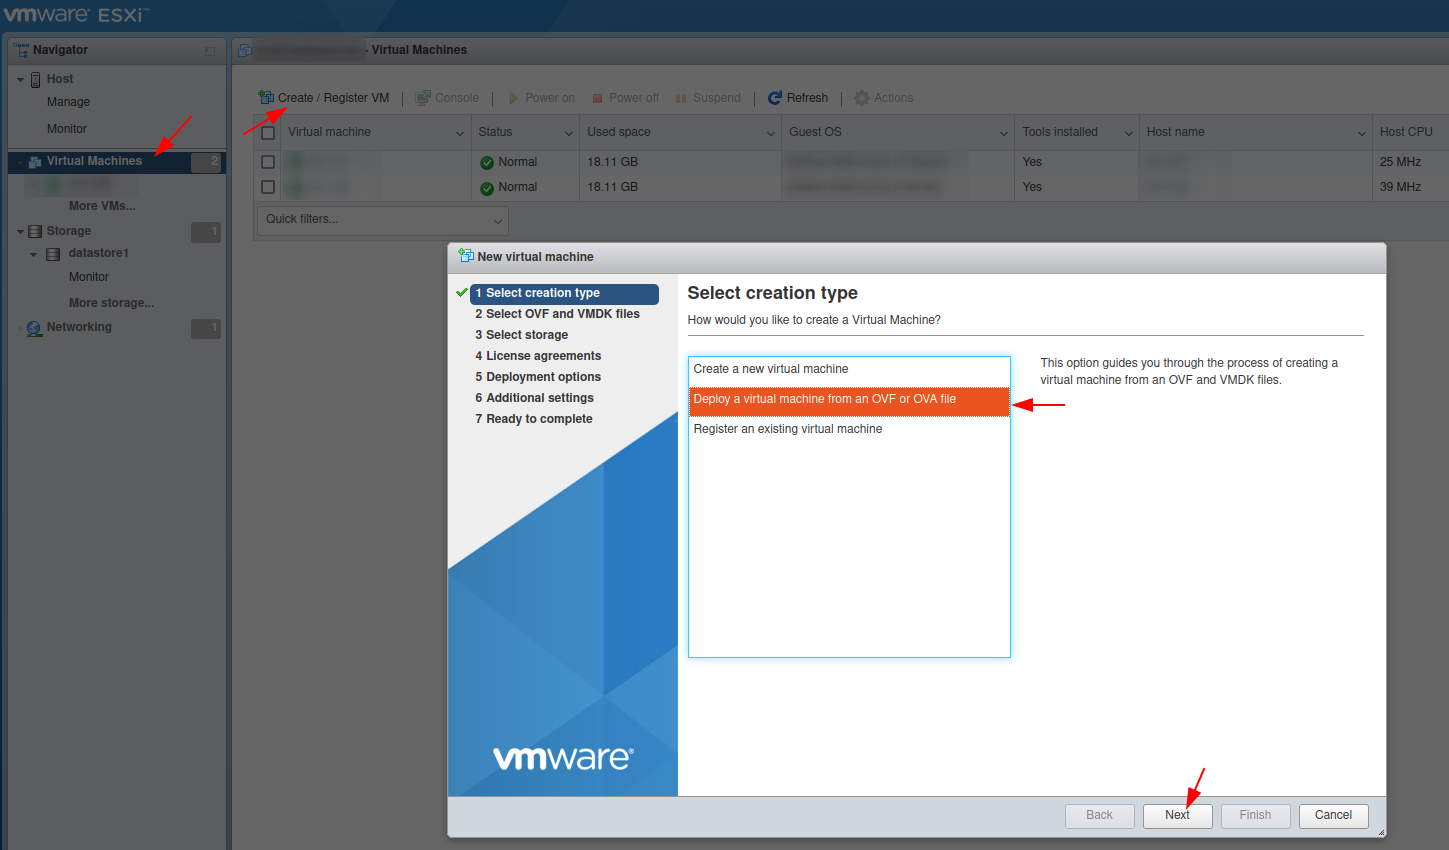
Next step is to login into VMware:

Once you login to your VMware installation, click on the Virtual machines – Create/Register VM and select option Deploy a virtual machine from an OVF or OVA file. Click Next:
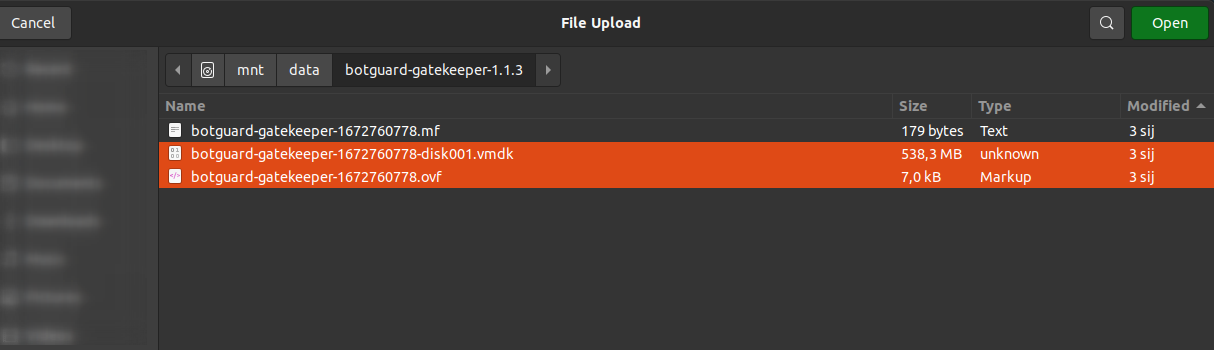
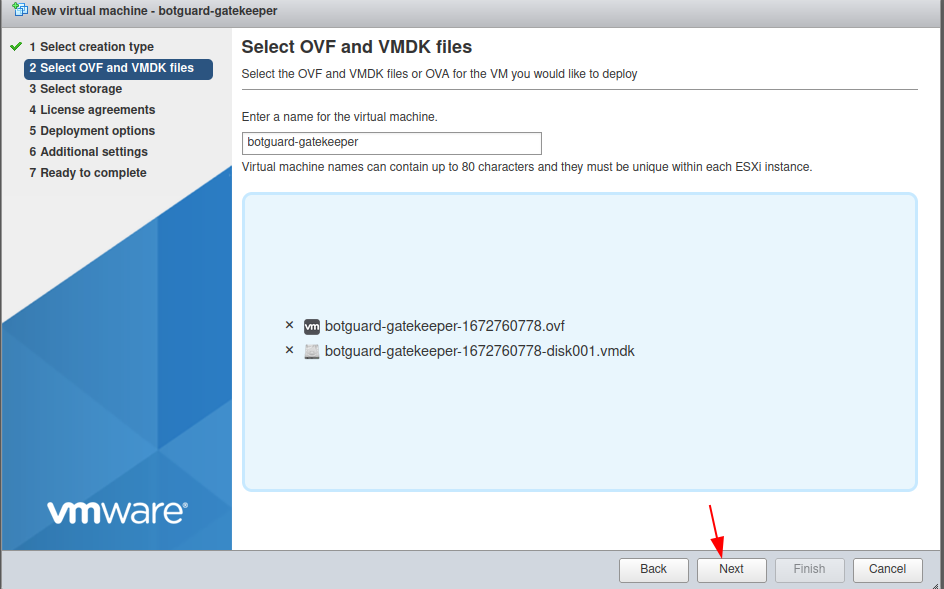
Enter name of your virtual machine as desired and choose option Click to select files or drag/drop:

Browse to location where you downloaded and extracted the VMware GateKeeper image and select .vmdk and .ovf file:
Once this is done, proceed. Click Next:
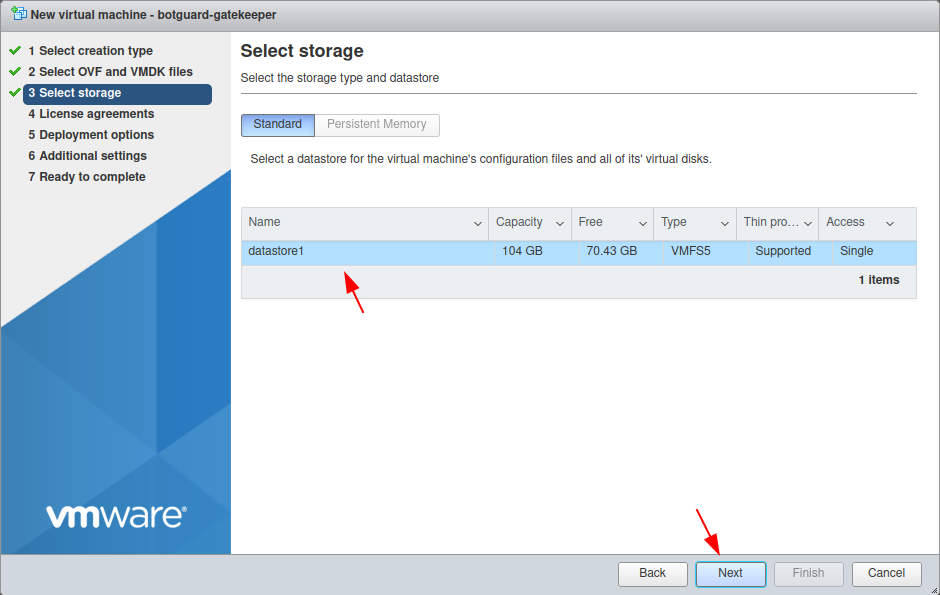
On the next step, choose your datastore (in your environment, this might be different, so choose accordingly):
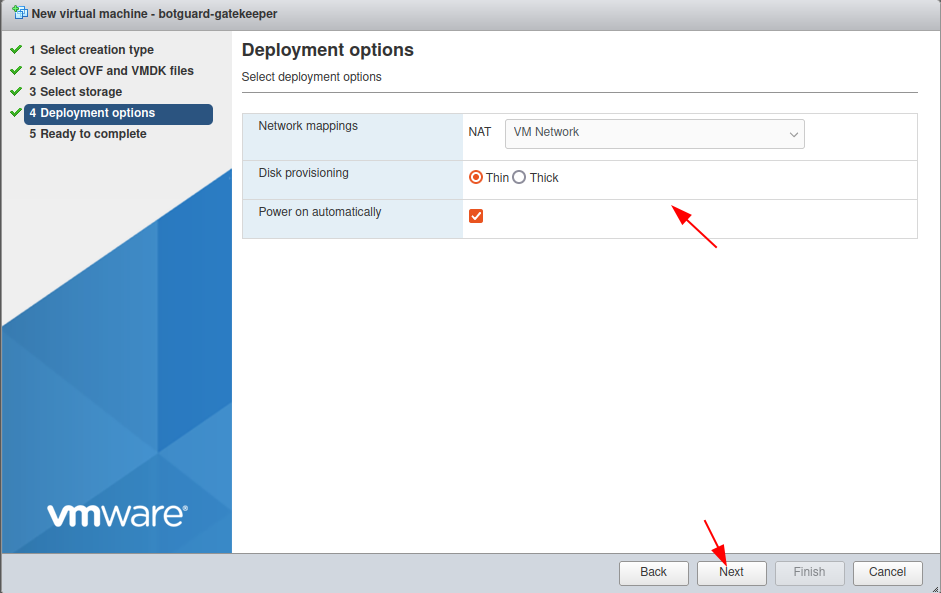
Next step are Deployment options:
On the next step, you might receive the following error:

If you do, please proceed as following. Otherwise skip this step. Head over to the official VMware pages and download ovftool: https://developer.vmware.com/web/tool/4.4.0/ovf
This will allow us to fix the error message from above so we can continue. Once you download and extract the archive, run the following:

You will get a VMX file. Edit the hardware version in it (virtualhw.version), change it to a version that is compatible with your hardware. For example, use 13, if you’re running ESXi 6.5. You can find more hardware versions here: https://kb.vmware.com/s/article/1003746
Once done, save the .VMX file.
Then you need to convert the VMX back to OVF – command is:
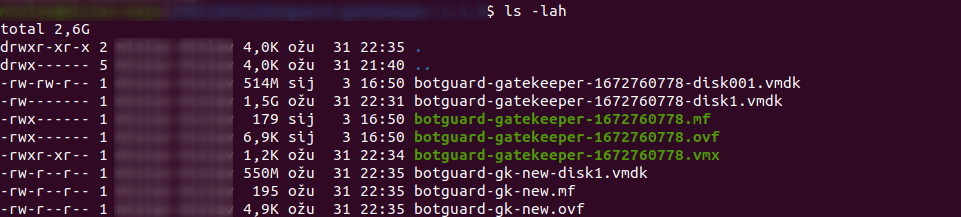
This will produce new files:
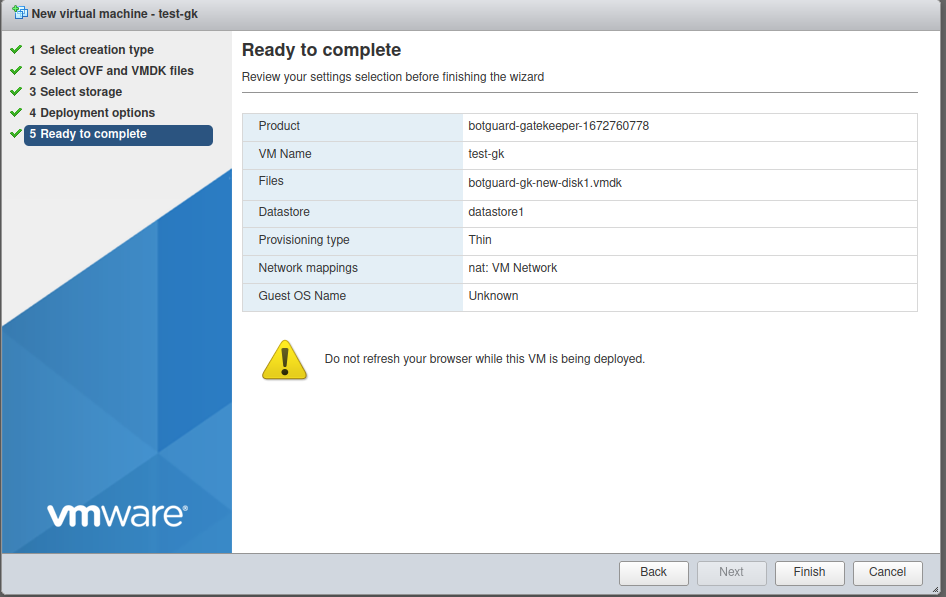
Switch back to your VMware instance and repeat the above steps with the newly created .ovf/.vmdk files. Once you pass the Deployment options, Ready to complete screen will be shown. Click Finish and wait few minutes until everything is created in the VMware.
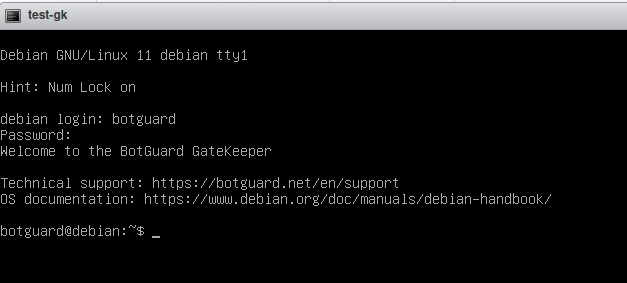
Once the process finish, feel free to start the VM. Initial login credentials are:
- user: botguard
- password: botguard (we strongly suggest you to change it)
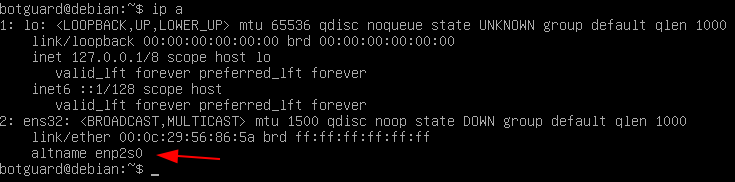
In order to access the GateKeeper GUI, we need to edit networking. First, use the following command to find interface name:
Use your favorite editor like vi/nano:
and adjust networking details accordingly as per your environment. Example: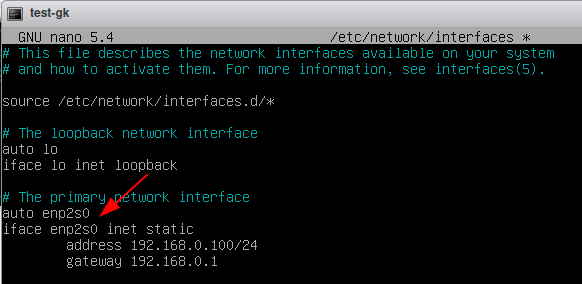
Restart the networking:
Our changes were made successfully.In order to finish the GateKeeper installation, open your browser and access the GateKeeper web management interface on the IP you configured previously. Use your BotGuard API key to finish the installation. You can get your API key in the dashboard.
Please check GateKeeper Quick Start article for more information on using GateKeeper.